If you build or maintain code in GitHub, the Honeycomb Buildevents Action can help you optimize the performance of your build pipelines in GitHub Actions. This blog introduces you to the gha-buildevents Action and a new hands-on quickstart guide that will show you the inner workings of GitHub Actions workflows, the buildevents tool, and the Honeycomb UI.
If you’ve been wanting to get started with GitHub Actions or Honeycomb (or you’d like to), this is the post you’ve been waiting for!
If you’re already familiar, you may just want to skip ahead and check out the GitHub Actions starter workflow for buildevents.
What is GitHub Actions?
GitHub Actions is designed to automate all your software workflows, such as building, testing, and deploying your code directly from GitHub. GitHub Actions workflows are a series of automated processes (or actions) that can be triggered to run by any arbitrary event. For example, before you merge a PR, you might want to trigger a workflow that will test that code before you take another action (like deployment).
The GitHub Actions Marketplace contains thousands of Actions that you can use to compose any number of workflows. One of many use cases commonly supported in these workflows is modeling a build pipeline (i.e. Continuous Integration and testing). Lead time for changes, or how long it takes your team to go from a code commit to having that code running in production, is a competitive differentiator. It’s crucial to ensure your build pipelines work quickly and efficiently.
With Honeycomb’s buildevents tool, you instrument your builds to identify performance bottlenecks or find issues (like flaky tests) by creating distributed traces that are sent to Honeycomb.
Why should you create a distributed trace for your builds?
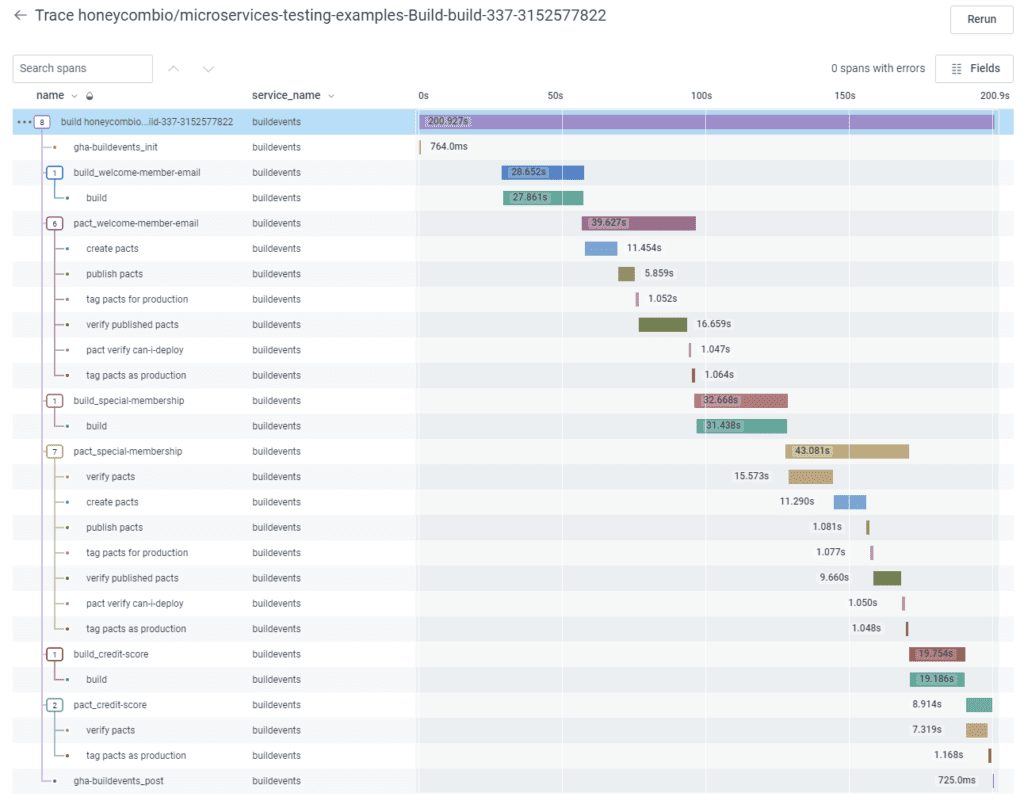
Honeycomb buildevents is a tool used to generate distributed traces from work that happens in a build pipeline. The simplest way to think of a distributed trace is as a series of interconnected logs. Each item in a trace is called a trace span, or just a span for short.
The parent span contains the entire record (or log) of everything that happened while completing one unit of work—in the case of buildevents, the unit of work is typically one build. That build might contain one or more subsequent steps, or child spans. Each span records (or logs) what happened throughout that step, including its duration.
To illustrate how this is organized, it may be easier to think of everyday activities that can be summarized as one task, yet also broken down into many individual parts. Let’s say you made dinner. The entire unit of work is “making dinner,” and that can be broken down into several individual parts: you cooked pasta and served it in a bowl. Perhaps more granularly, you can continue to decompose that into even more steps: cooking pasta includes boiling the water, opening the pasta box, and draining the pasta.

There are three main use cases for this data representation: visualizing the duration of each step in your build, accessing output details, and surfacing patterns across a number of builds (such as identifying why some builds are slower than others, or why some tests fail more than others) using Honeycomb tools like BubbleUp.
What is the Honeycomb Buildevents Action?
The Honeycomb Buildevents Action (or gha-buildevents) modifies buildevents to populate your trace with metadata from the GitHub Actions environment and can be set to always run, even if something in your workflow fails. GitHub Actions supports many other workflows aside from just build pipelines, and you can use gha-buildevents to wrap any thirdparty Action in your workflow to generate trace data. That means that you can use the gha-buildevents Action to visualize what’s happening inside any of your GitHub Actions workflows.
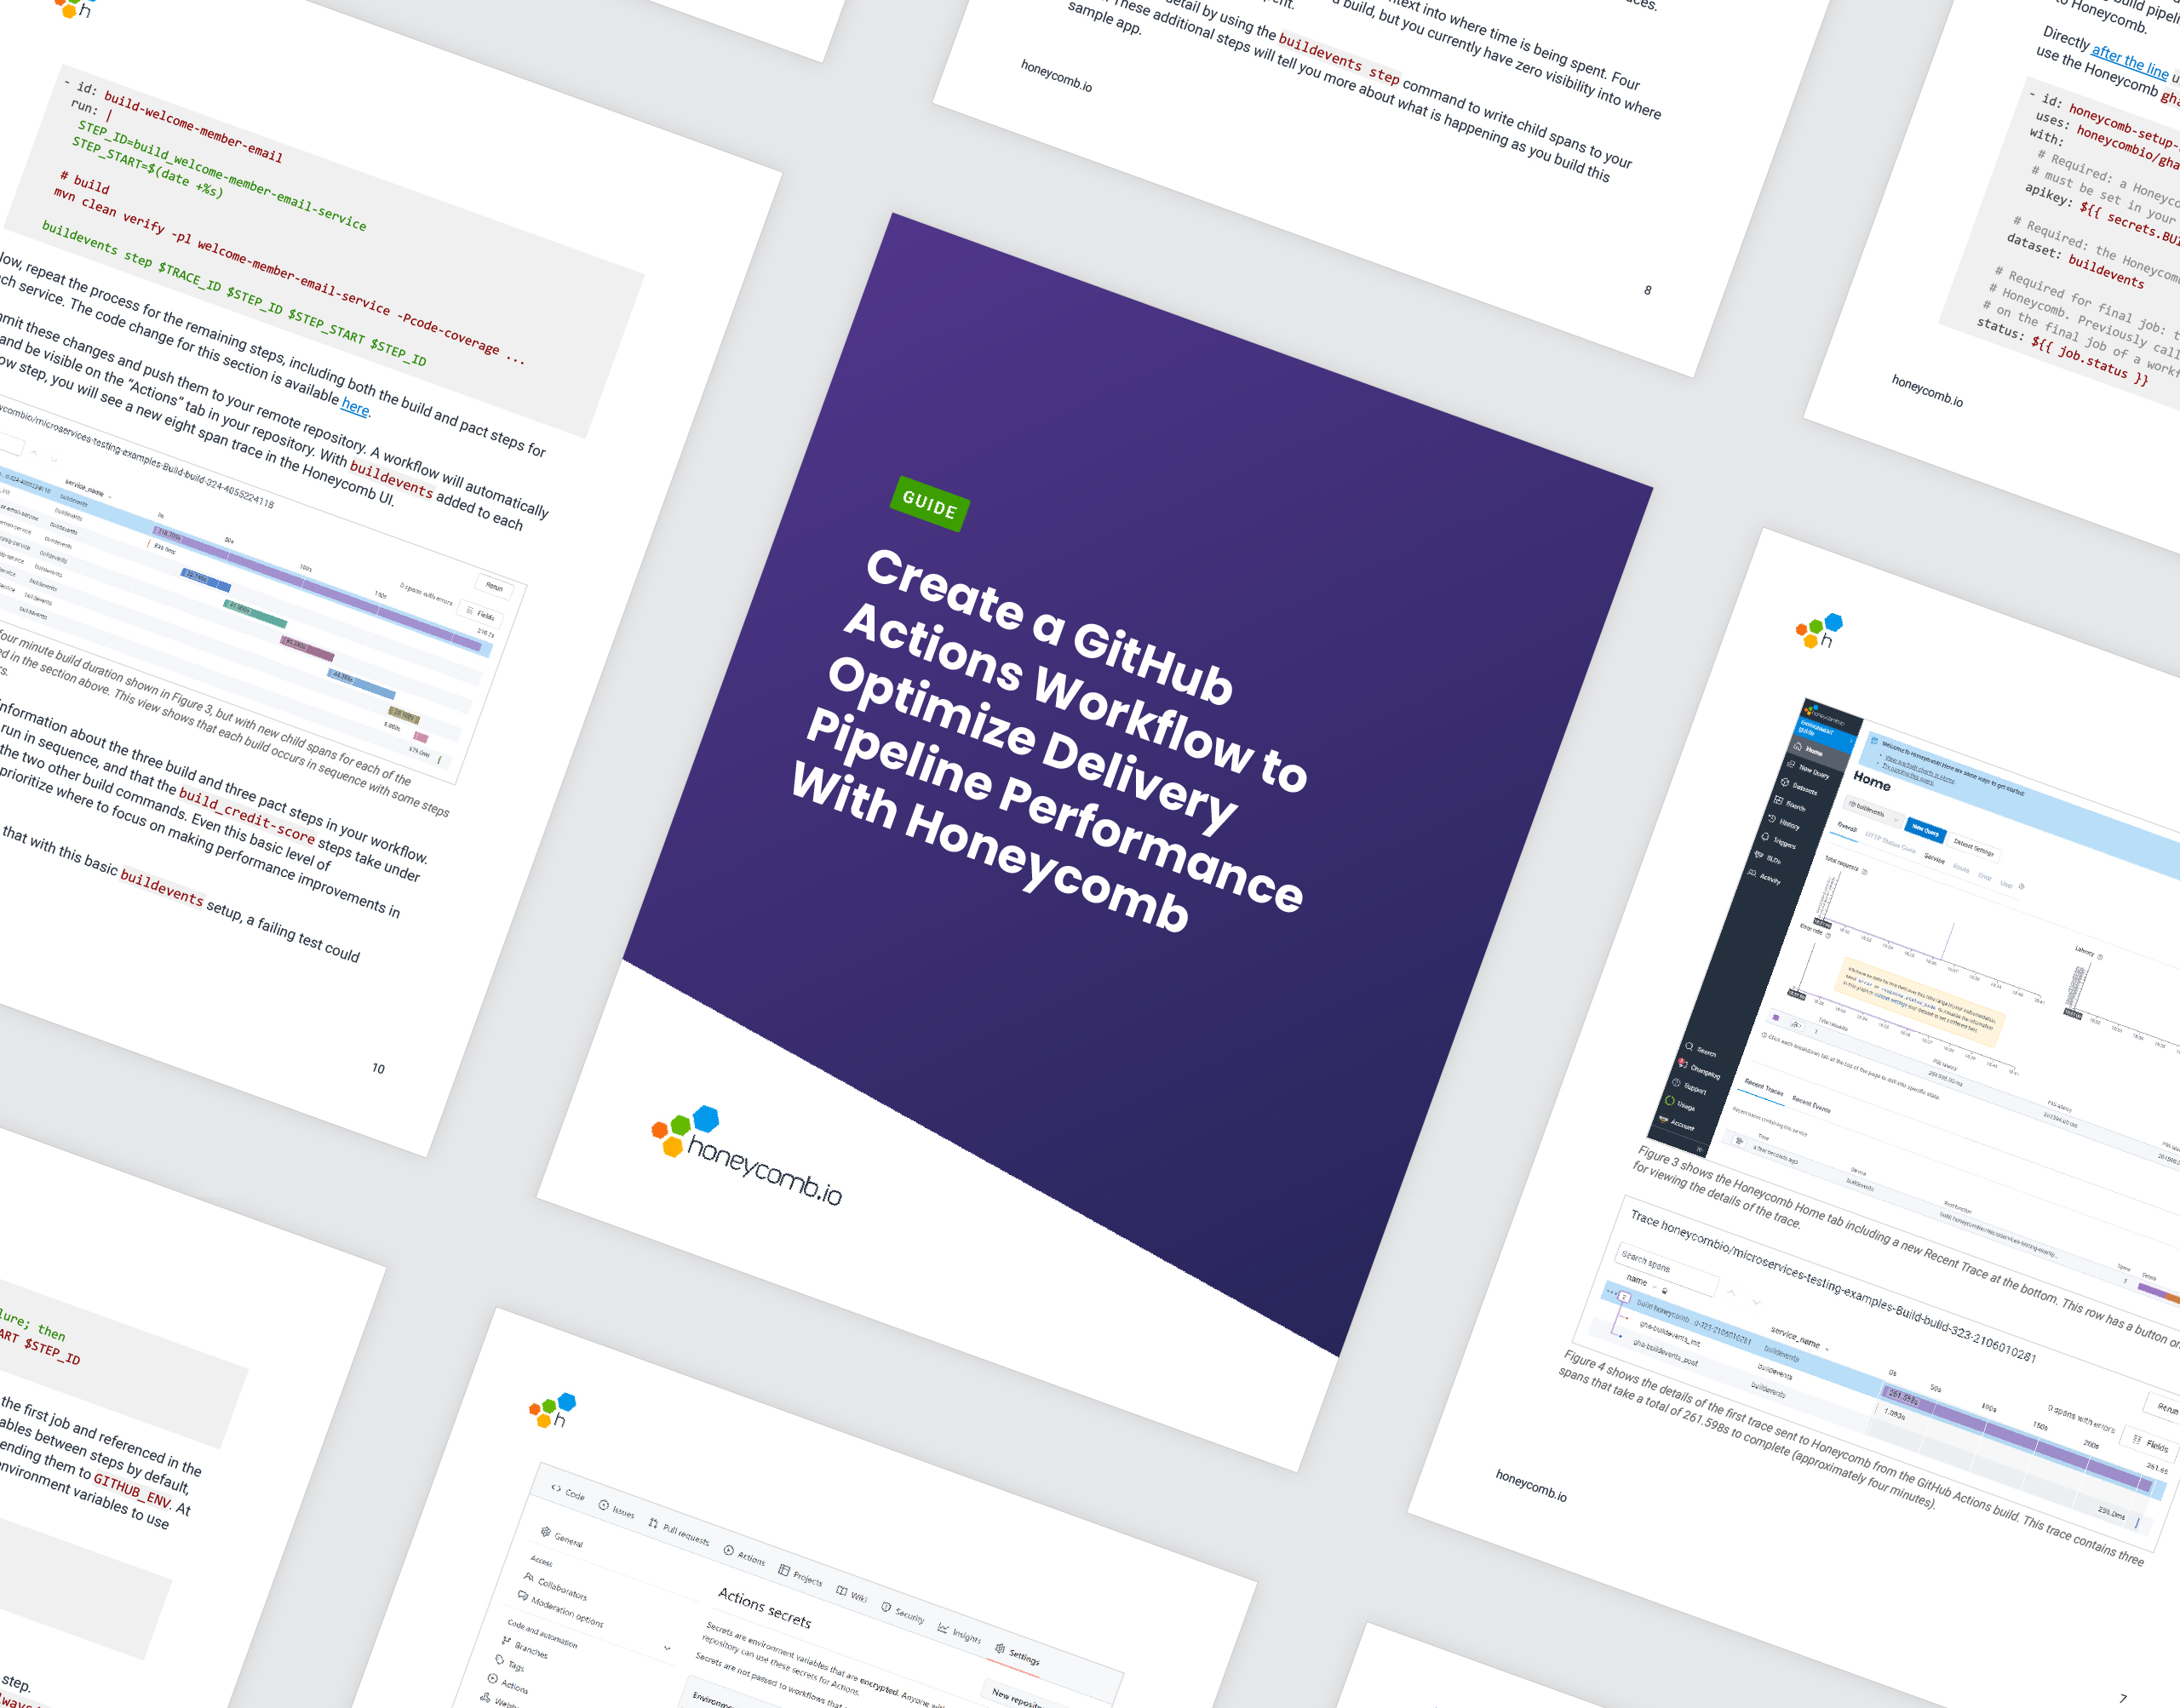
Our new guide, Create a GitHub Actions Workflow to Optimize Delivery Pipeline Performance With Honeycomb, shows you how to put these concepts into action by instrumenting a sample app and troubleshooting a few basic scenarios with Honeycomb.
What’s in the guide?
The guide is a hands-on walkthrough that shows you how to use and configure the gha-buildevents Action against a sample app with a predefined build pipeline. It shows you how to:
- Use the gha-buildevents Action within your GitHub Actions workflow
- Iteratively construct a trace by adding more incremental visibility to each step
- Use the Honeycomb UI to visualize and debug your build pipeline
- Avoid common pitfalls when working with both GitHub Actions workflows and with gha-buildevents
The sample app is a fork of the microservices-testing-examples repo, generously bequeathed to Honeycomb by André Schaffer and Dan Eidmark. It is a simple, but effective, example of many common scenarios you might encounter when using buildevents.
In order to complete the guide, you’ll need:
- A free Honeycomb account—this includes 20 million events per month, which is ample event volume to support very large and complex production build pipelines. Go nuts! It should accommodate almost all possible buildevents use cases with ease.
- A free GitHub account to work with the sample app and free GitHub Actions credits for a public repository.
- A copy of the guide to work from and about 30 minutes to complete the exercises.
Where to go from here
If you’ve ever wanted an easy way to get started with Honeycomb, this is the guide for you! The instructional content will help you navigate through useful concepts when getting started with Honeycomb, GitHub Actions, and buildevents.
For those already familiar, check out this GitHub Actions starter workflow for buildevents. It will show you common usage patterns and ways to wrap third-party Actions within your workflows. If you’ve previously used the gha-buildevents Action, we recently made some visualization improvements.
Check it out and let us know what you think. As always, you can pop into Pollinators to let me know what you think. Alternatively, you can find me on Twitter and I’ll be happy to answer any of your questions.


